When you are transitioning from your old site, the biggest consideration is retaining any search engine ranking or "Google juice" you have built up with your old site. To maximize that retention, you want to make sure the new site has any keyword-rich content you had on the old site, and redirect from the old site to the new site.
If users have previously had an external website using OwnerRez widgets and are now planning to create an OwnerRez Hosted Website using OwnerRez widgets, be sure to disable the unused OwnerRez widgets for your external website.
Why? Failure to disable your old unused OwnerRez widgets can lead to multiple URL issues.
Populating Content
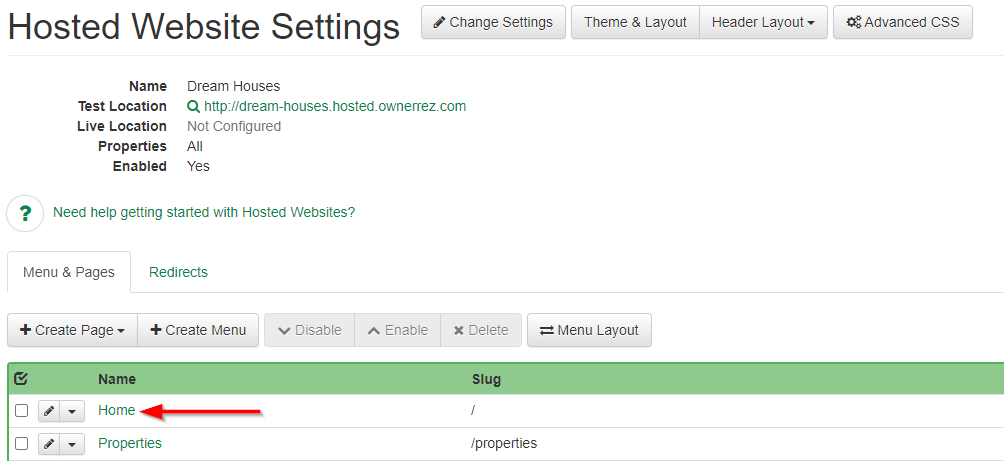
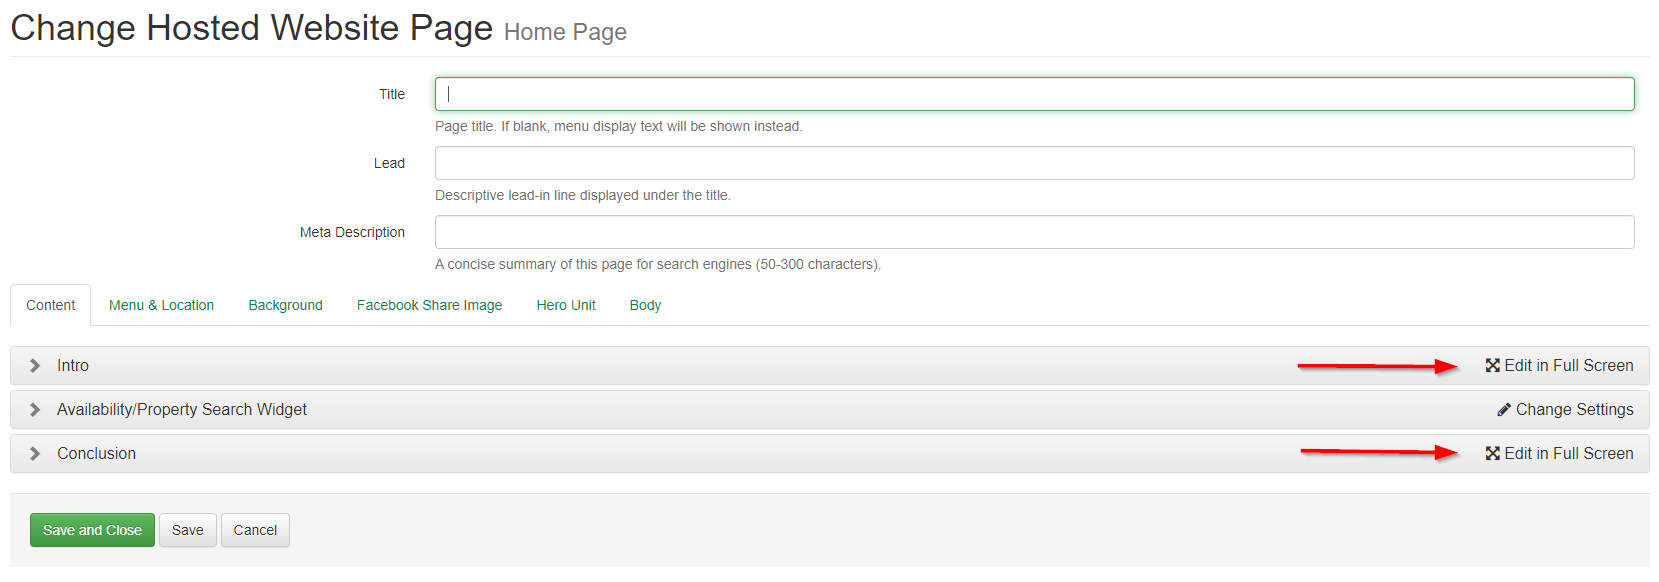
If you've got content on the old site, include it in the Intro or Conclusion sections on your OwnerRez website page types like the Home page, Map page, Properties page, etc. Go to your Hosted Website Settings and select the page where you'd like to add the content.
On the next screen, choose whether you'd like to add content at the Intro (beginning) of the page or at the Conclusion (end).
The next screen is similar to the one used to write your email Templates and has a variety of editing buttons.

If you have entire pages of content -- for example an "About My Area" page -- create Custom Pages in the Hosted Website and populate the content there. To add a page, go to the Hosted Website Settings page, choose the Create Page button and select "Custom."

Redirecting From Old Site to New Site
When you set up the new site, you want to redirect as much as possible from the old site using 301 (permanent) redirects which carry link ranking across. There are two parts to this:
Redirecting Domains
If you have just one domain, this is easy -- make sure it is included in your Hosted Website configuration so our server will connect your domain name with your website, and follow our Going Live instructions to configure DNS. Once the DNS settings propagate, our servers will start handling your domain instead of your old server with your old website. Note that you will no longer be able to access your previous website once this takes place, so make sure to save anything you wanted from it first!
If you have multiple domains, that's you need to set up redirects for them with your domain registrar. Inside OwnerRez we only support a single domain -- we don't support multiple domains. So pick a primary domain and set that up in OwnerRez and in your DNS.
Then, in your domain registrar's control panel, configure 301 redirects from your secondary domains to the primary. This is sometimes called "forwarding, pointing, or connecting".
Here are some domain redirect/forward instructions for a few common registrars:
When you get the option of a redirect type, choose 301 or Permanent.
Redirecting Pages
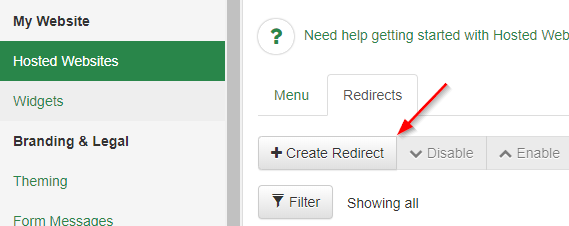
Manual RedirectsYou can also redirect old page URL's from your previous site engine to the new location on your new hosted site. To do this, go to the Redirects tab on the Hosted Website Settings and create redirects:
To figure out what you want to redirect, look at your old site (before you go live on the new hosted website). For example, if your old Book Now page was at https://acmevacations.com/book-me-asap, you'd want to create a redirect like this:

This means when a visitor goes to that old URL, they will be automatically sent to your new Book Now page. The redirect system only matches the value in the From box (it will not worry about the domain portion) so you can test these redirects on your test site before going live.
Excel Import for OwnerRez Hosted Website Redirects
Another tool is the Import hosted website redirects from Excel tool. Users can navigate to Tools > Import/Export.
Select From Excel > Import Hosted Website Redirects.
Step one is to Download the Hosted Website Redirect Excel Template.
Open the Hosted Website Redirect Excel Template in Excel (or Google Sheets in the example below). It's a good idea to Save the spreadsheet first.
Add your website Uniform Resource Locator or URLs from both your old and new websites in the spreadsheet. Be sure to Save your spreadsheet.
- We've included some sample rows to show what the data should look like. Remove them and replace with your data.
- Required columns are highlighted in red.
- Don't move any columns around or we won't be able to understand what you've uploaded.
Click on Choose File to import your completed Redirect Import spreadsheet. From the Hosted Site drop-down list, select your new website.
From the pop-up window, select your completed Redirect Import spreadsheet and click on Open. Users will see that their selected Redirect Import spreadsheet is displayed. Click on Import.
If successful, users will see the Detailed Results.
If the import fails, users can edit their spreadsheet and attempt the import again or choose to add their website redirects manually.
Users will also see all added Redirects listed on their Hosted Website Redirects tab.